
Welcome to the exciting world of custom cutting boards! Whether you are a seasoned woodworker or a beginner looking to try your hand at a new project, creating a personalized cutting board is a rewarding experience. Not only does it allow you to express your creativity, but it also results in a functional piece of kitchen equipment that can be used daily.
At Frawsted Creations, we understand the joy of crafting something unique and tailored to your preferences. From choosing the right type of wood to adding those final finishing touches, our step-by-step guide will walk you through the entire process. You'll learn about the essential materials, tools, and techniques needed to make a cutting board that not only meets your needs but also stands out as a beautiful addition to any kitchen.
Are you ready to get started? Send us a message at contact@frawstedcreations.com for custom inquiries and to learn more about what we can offer!
Essential Tools and Materials
Before diving into the process of making custom cutting boards, it's crucial to gather all the necessary tools and materials. A well-prepared workspace will not only make the process smoother but also ensure a high-quality end product.
Here are the essential tools you'll need:
- Table Saw or Circular Saw: For cutting the wood to the desired size.
- Jointer: To ensure the edges of your wood pieces are perfectly straight.
- Planer: For achieving a consistent thickness across all wood pieces.
- Clamps: Essential for holding the wood pieces together during the gluing process.
- Orbital Sander: To smooth out the surface of the cutting board.
- Router: For adding decorative edges or handles to the board.
Next, let’s look at the materials you’ll need:
- Wood: The type of wood you choose is critical. Hardwoods like maple, walnut, and cherry are popular choices due to their durability and aesthetic appeal.
- Wood Glue: High-quality, food-safe wood glue is necessary for bonding the wood pieces together.
- Sandpaper: Various grits (ranging from 80 to 220) for sanding the board to a smooth finish.
- Mineral Oil: Food-safe mineral oil for finishing and sealing the wood, enhancing its longevity and beauty.
- Optional: Epoxy resin, if you want to add unique designs or fill any gaps in the wood.
Having these tools and materials at your disposal will set you up for success as you embark on your custom cutting board project. Stay tuned as we delve into the next steps, starting with selecting the perfect wood for your creation.
Designing Your Custom Cutting Board
Once you have gathered your essential tools and materials, it's time to move on to the exciting phase of designing your custom cutting board. The design process allows you to infuse your personality and preferences into your creation, making it truly unique.
Here are some key considerations to keep in mind when designing your cutting board:
- Shape and Size: Decide on the shape and size of your cutting board. Common shapes include rectangular, square, and round. Consider the space where it will be used and stored, as well as the types of tasks it will be used for, to determine the most practical dimensions.
- Wood Grain Pattern: The grain pattern of the wood can significantly affect the aesthetics of your cutting board. End grain boards, where the wood fibers are oriented vertically, are highly durable and showcase intricate patterns. Edge grain boards, on the other hand, exhibit long, linear grain lines and are easier to make.
- Color Contrast: Mixing different types of wood can create striking color contrasts. For instance, combining light-colored maple with dark walnut can result in a visually appealing design.
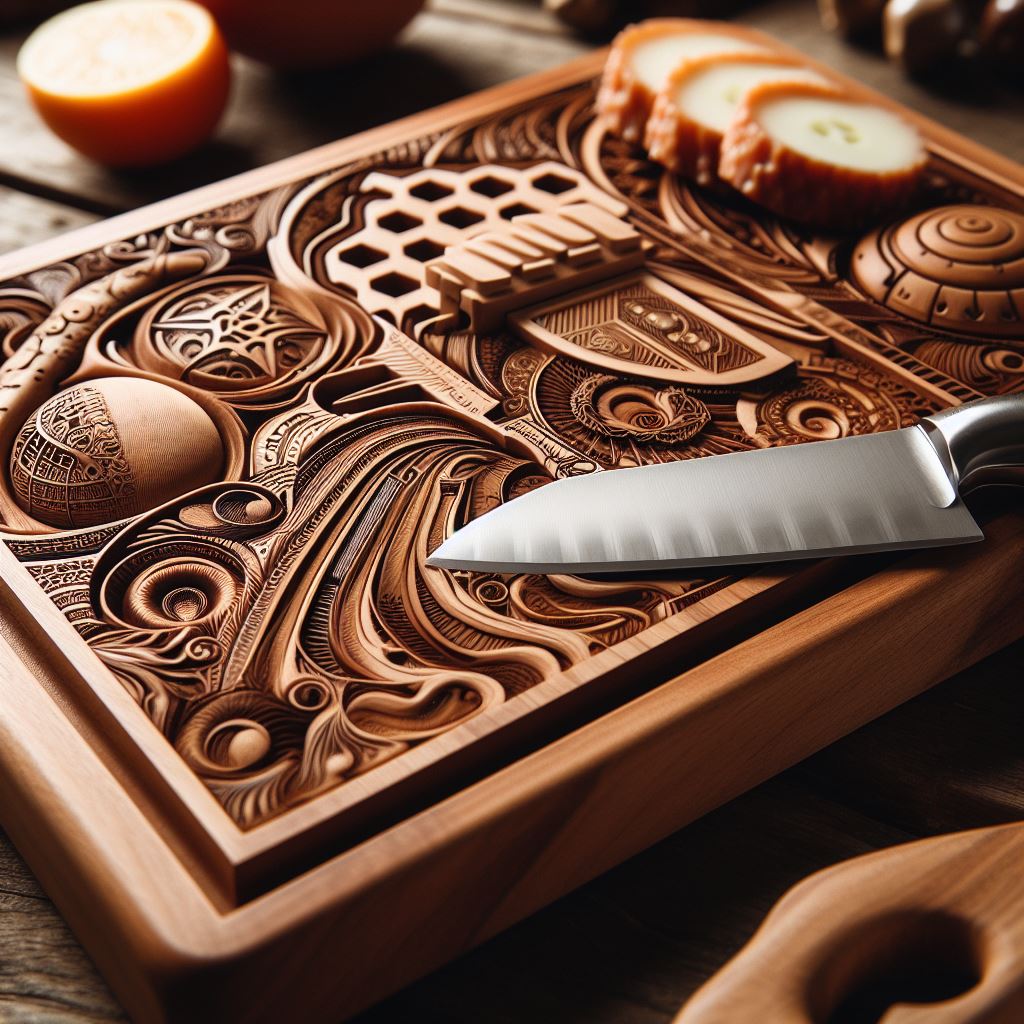
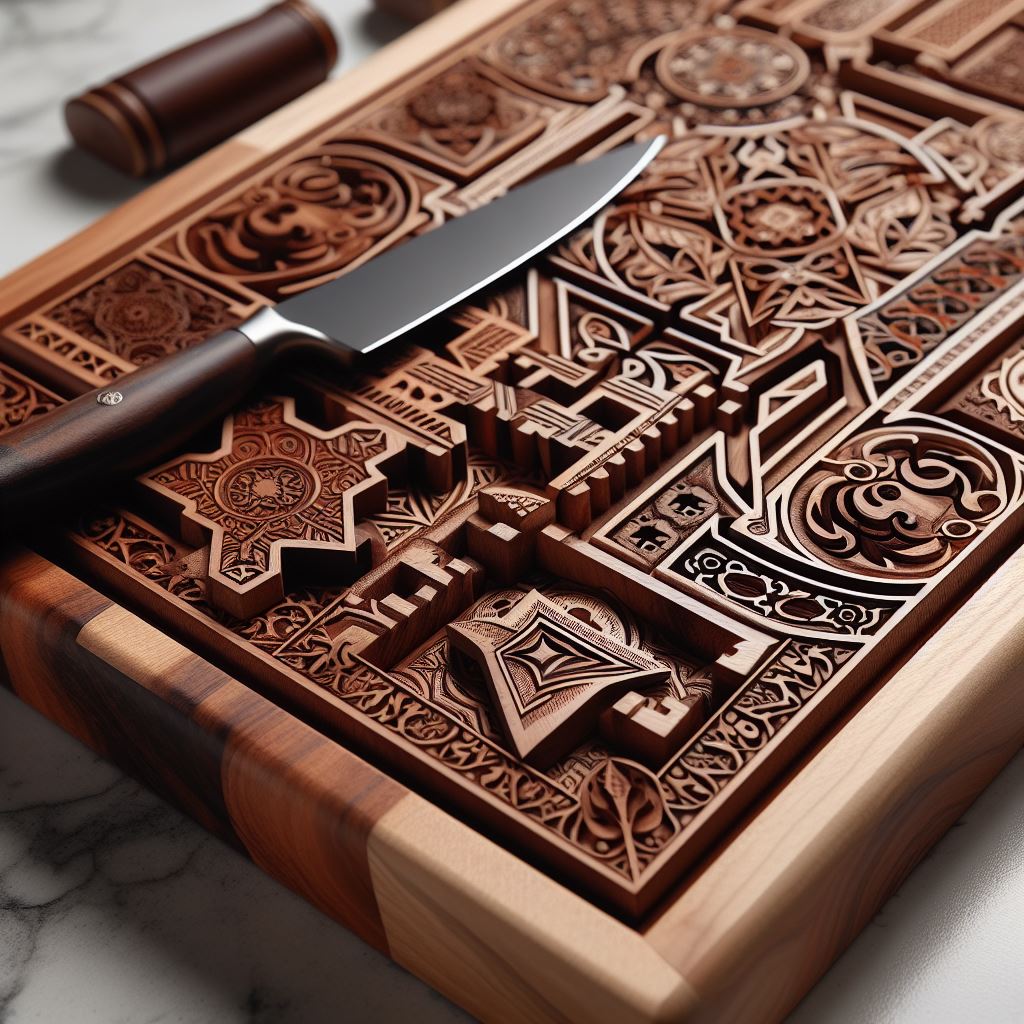
- Personalization: Consider adding personalized touches, such as engraved initials, custom shapes, or unique inlays. These elements can add a special meaning to your cutting board and make it a treasured item.
- Functional Features: Think about practical features like juice grooves, handles, or non-slip feet. These additions can enhance the usability of your cutting board.
Designing your custom cutting board is an opportunity to let your creativity shine. By carefully considering these aspects, you can create a cutting board that not only looks great but also serves your needs perfectly. Up next, we'll guide you through the process of selecting the perfect wood to bring your design to life.
Cutting and Shaping the Wood
With your design finalized, the next step in how to make custom cutting boards is cutting and shaping the wood. This phase requires precision and care to ensure that your cutting board not only looks good but is also functional and durable.
Follow these steps for cutting and shaping your wood:
- Measure and Mark: Begin by measuring and marking the wood according to your design. Use a pencil and a straight edge to draw clear, accurate lines. Double-check your measurements to avoid mistakes.
- Cut the Wood: Use a table saw or circular saw to cut the wood along the marked lines. Make sure to follow safety guidelines, such as wearing protective eyewear and keeping hands clear of the blade. For curved shapes, a band saw or jigsaw can be used.
- Joint and Plane: After cutting, use a jointer to ensure the edges of the wood are perfectly straight and smooth. Next, use a planer to achieve the desired thickness and to smooth the surfaces of the wood pieces.
- Arrange and Glue: If your design includes multiple pieces of wood, arrange them according to your design. Apply wood glue to the edges and clamp the pieces together. Allow the glue to dry thoroughly, usually for at least 24 hours.
- Trim and Shape: Once the glue has dried, trim any excess wood and shape the board to its final dimensions. Use a router to round the edges or add decorative touches.
- Sand Smooth: Sand the entire board starting with coarse-grit sandpaper and progressing to finer grits. This will remove any rough spots and prepare the surface for finishing.
Taking your time during the cutting and shaping phase is crucial for achieving a high-quality result. Precision and patience here will pay off in the final product, setting the stage for the next steps: sanding and finishing your custom cutting board.
Sanding and Finishing Techniques
Now that your cutting board is cut and shaped, the next critical step in how to make custom cutting boards is to sand and finish the wood. This process not only enhances the appearance of your cutting board but also ensures its durability and longevity.
Follow these steps for effective sanding and finishing:
- Sanding: Begin with coarse-grit sandpaper (around 80-grit) to remove any large imperfections and rough spots. Gradually move to finer grits, such as 120-grit and then 220-grit, to achieve a smooth surface. Sand in the direction of the wood grain to avoid scratches. For an ultra-smooth finish, consider a final pass with 320-grit sandpaper.
- Cleaning: After sanding, clean the surface to remove any dust and debris. Use a tack cloth or a damp rag to wipe down the board thoroughly. This step is essential to ensure a clean surface for the finish to adhere properly.
- Applying Finish: Choose a food-safe finish, such as mineral oil, beeswax, or a combination of both. Apply the finish generously using a clean cloth or brush, following the grain of the wood. Allow the finish to soak in for about 15-20 minutes, then wipe off any excess with a clean cloth. For a deeper finish, repeat this process two to three times.
- Buffing: Once the finish has dried, buff the surface with a clean, dry cloth to enhance the shine and smoothness. This step will also help to bring out the natural beauty of the wood grain.
- Final Inspection: Examine the cutting board for any rough spots or areas that may need additional sanding or finishing. Make any necessary touch-ups to ensure a flawless finish.
Proper sanding and finishing not only make your cutting board look stunning but also protect it from moisture and wear. This attention to detail will ensure that your custom cutting board remains a cherished item in your kitchen for years to come.
Maintaining Your Custom Cutting Board
Congratulations on crafting your beautiful custom cutting board! However, to ensure it stays in pristine condition, proper maintenance is essential. Here are some tips to keep your cutting board in top shape:
- Regular Cleaning: Always clean your cutting board immediately after use. Use warm, soapy water and a soft sponge. Avoid submerging the board in water or putting it in the dishwasher, as excessive moisture can cause warping and cracking.
- Sanitizing: To sanitize, occasionally wipe the board with a mild bleach solution (1 tablespoon of bleach to 1 gallon of water) or use white vinegar. This helps kill bacteria and keep your board hygienic.
- Drying: After cleaning, dry the cutting board thoroughly with a clean towel and let it air dry completely, standing it upright to allow all sides to dry evenly.
- Regular Oiling: To maintain the wood's luster and prevent it from drying out, apply food-safe mineral oil or a specialized cutting board oil monthly. Use a clean cloth to apply a generous amount, let it soak in, and wipe off any excess.
- Avoid Extreme Temperatures: Keep your cutting board away from extreme heat or cold, as these conditions can cause the wood to warp or crack.
- Resurfacing: If your cutting board develops deep cuts or scratches, you may need to resurface it. Lightly sand the surface with fine-grit sandpaper and reapply the finish as described in the sanding and finishing section.
By following these simple maintenance steps, your custom cutting board will remain a functional and beautiful piece in your kitchen for years to come. Remember, a well-maintained cutting board not only looks great but also provides a safer surface for food preparation.
Send us a message at contact@frawstedcreations.com for custom inquiries and to learn more about what we can offer!